")
")
FAQs Archive
Filter by Year
Configuration Button Programming
Why does my validator not have DipSwitches?
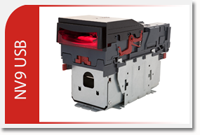
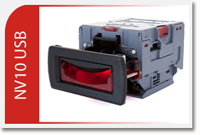
The new USB validators (NV9 USB and NV10 USB) no longer have DipSwitches - programming is now via a configuration button. Located on the head on the NV9 USB and the right hand side of the NV10 USB.
Configuration card programming
Configuration card programming (one press)
- Print the configuration card from the product manual or download the configuration card from the correct product page. Note: Check the dimensions when printed.
- Complete the card as required – the sections that require completing depend on how the unit to be programmed. See samples over page. Note: not all interfaces are relevant for each validator.
- With the validator powered on press the configuration button once. The bezel LED’s will flash slowly to indicate the unit is waiting for a configuration card. (press the configuration button again to cancel this mode)
- Insert the configuration card in the direction indicated on the card. The card will be read and returned. The bezel LED’s will flicker as the new interface is being programmed. If there is an error the bezel LED’s will flash a number of times according to the cause of the error. Please refer to the validator operations manual for full details.
Current Setting Indication (double click)
- Double click the configuration button
- The bezel LED’s will flash according to how the validator is currently programmed. The list below shows the meaning of the flash codes.
Flash count
1 SSP
2 Pulse
3 MDB
6 CCTalk
7 SIO
8 Parallel
SSP / Programming Mode (press and hold)
- Press and hold the configuration button until bezel illuminates (approx. 2 seconds), then release. The bezel LED’s will flicker as the validator is reprogrammed.
- The validator will then be in SSP mode to allow for programming via a PC .
- The validator will remain in SSP mode until the unit is reprogrammed (either by a configuration card or via the validator manager software) or the configuration button is pressed and held again. If the button is pressed and held, the validator will return to its original interface. It is recommended that the interface be confirmed by double clicking the button as described above.
If a validator is programmed for any interface other than SSP, for example ccTalk, to reprogram the unit you will need to set it to SSP mode as described above. Once the download is complete, the validator will return to it’s original interface, in this case, ccTalk.
Reset ccTalk Encryption key to the default value (hold at power up)
- With the cable removed from the validator, press and hold the button as the cable is attached
- Release the configuration button and the validator will reset.
- The ccTalk encryption key will now be reset to the default value